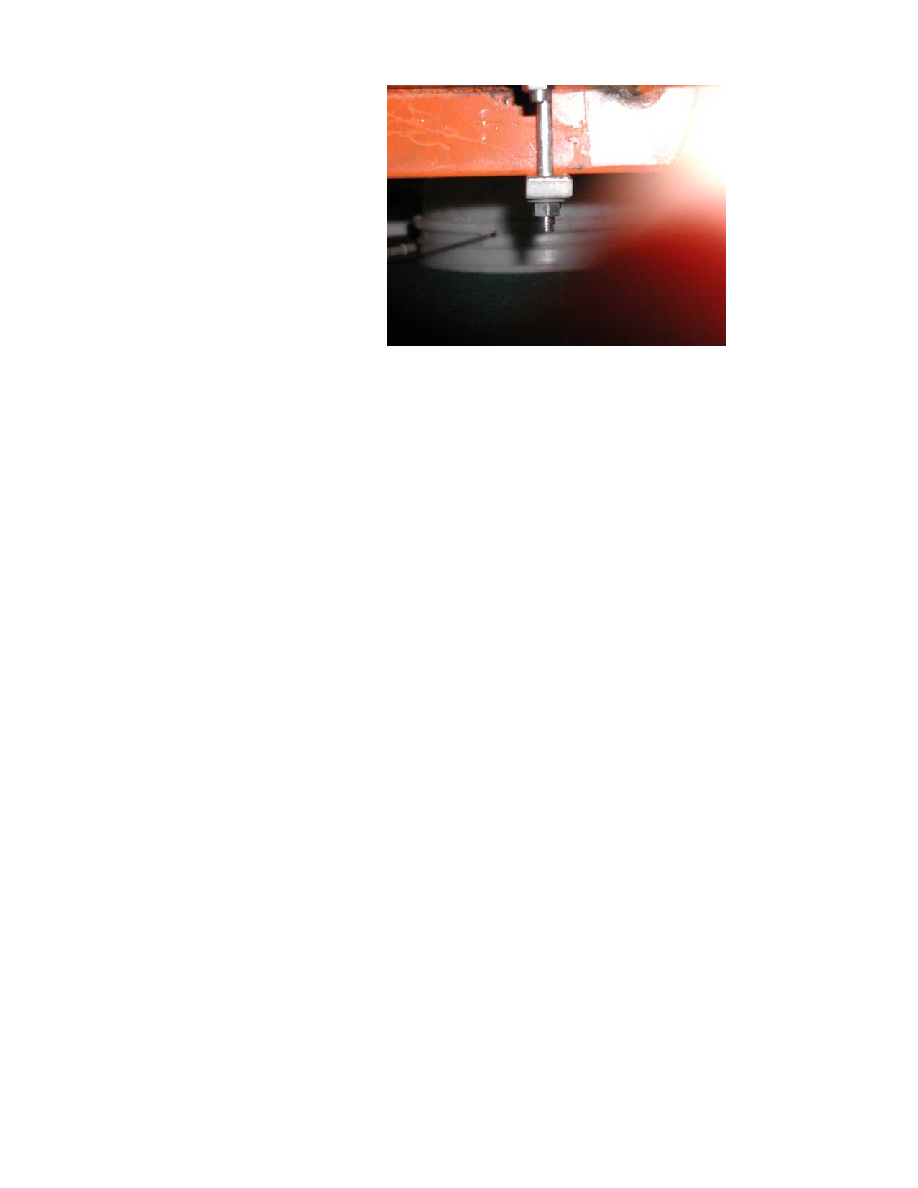
The base plate was attached to the engine
stand using a simple clamp like this.
Important points to remember about the big plate
Flat head 7/16" screws and flat head metric screws are often hard to find. In the USA,
McMaster-Carr has them in small lots.
For a totally poor boy way to attach the plate, mark the holes very carefully and drill to the exact
size of cheap bolts, counter sink the holes you drilled in the plate, saw the studs off a little long
and peen (hammer) the excess into the counter sinks. A heating torch would help here but it is
not vital if you work carefully and use low quality (softer) bolts instead of high strength head
bolts.
Don't use the end of a plate that has been sheared (chopped off at the steel mill). Shearing
is going to distort the end so that it will be difficult to use for our purposes.
Hot rolled plate is often not truly flat. This causes no problem with the MultiMachine. The
important thing to remember is that the outer edges and not the center of the two plates make
contact. If there is just center contact the table will be able to rock sideways when making a
heavy cut. This will cause the machine to chatter. Face the plates so that the edges touch and
make these contact areas as smooth as possible. A good way to do this is to carefully degrease
the plate and then use a flap type sanding disc on it. This will probably work well enough so that
lapping the plates together won't be necessary.
To mark the holes in the plate, put a transfer screw in the top head bolt stud hole you're going to
use and also in the bottom one. Measure exactly the distance between the top of the transfer
screw point and the bottom transfer screw point. What I actually did was to lay a thin
Aluminum bar across the top and bottom transfer screws and lightly tapped to mark the
positions. I drilled through these marks with a very small bit to mark the top and bottom hole
positions.
I located the top hole position on the big plate and center punched it then dragged (picture
below) that measurement down to about where the bottom hole would be.. I scribed a line and
then used the aluminum bar with the tiny holes in it to mark the position of the second hole.
Check everything again and center punch and drill a shallow 1/8" hole. The easy way to mark
the remaining holes is to use a head gasket and a transfer punch. If you don't have a head gasket
37

