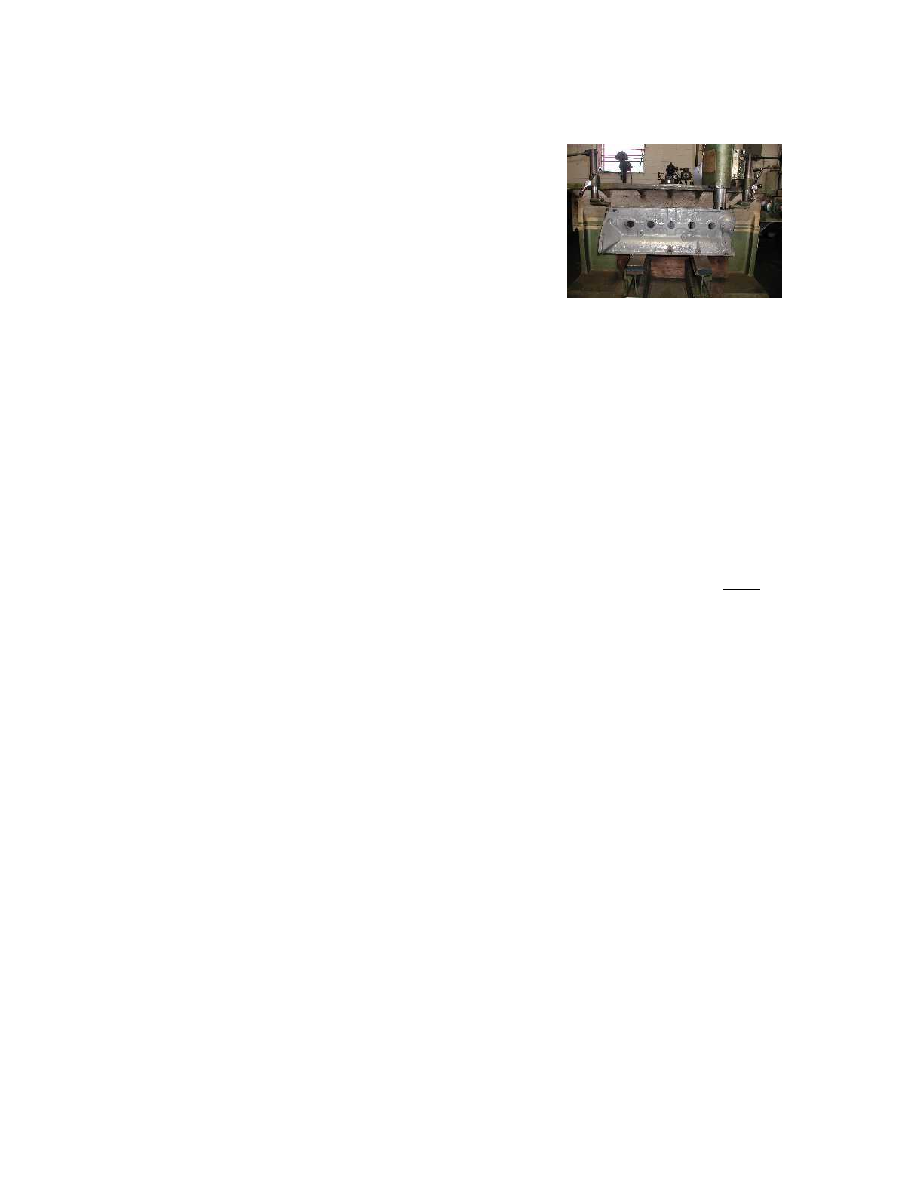
Every one of those parts should be on hand when you start the fitting process.
Step 4, The machine and engine shops
The engine shop bores and/or sleeves the block to fit the
bearing and overarm outside dimensions. Simple enough, but if
for some reason this boring is not possible and the cylinder bores
are not badly worn then simple sleeve type bearing adapters could
be made. Remember there is the potential of a loss in accuracy
with each bearing adapter you use so be very careful here. The
spindle is the heart of the machine and is not a good place to make shortcuts. If you do have to
use bearing adapters, all you may really need is the very top and bottom end of the of the
cylinder to be true and unworn.
Step 5, When you get the blocks to your shop
It is important to find out how they fit together. Mzny combinations of blocks will work but now
is the time to find out exactly how. The blocks should be carefully tested to see how they fit
together. Lay the big block on it's back. Lay on a piece of the steel bar than you plan to use or an
identically sized piece of plywood and then lay the small block face down on top of the main
block. Check for clearance for the clamps that hold the blocks together. Try to get at the very
least 2" clearance on each side. To help get this clearance, protrusions may have to be ground off
and either the plate or the small block that is used for the vertical slide may have to be offset to
one side.
Step 6, The MultiMachine needs something to sit on
Concrete is always best, two steel tables or frames that would isolate the power unit from the
MultiMachine would be almost as good but mine had to roll around so I chose to modify a store
bought engine stand. It has worked very well even though it tends to rock back and forth under a
heavy cut. One inch jack screws on each corner would be a good idea. Just burn holes in each
corner of the stand, weld on nuts and use bolts or allthread to slightly raise and level each corner.
24

